- Download Filezilla
- Once downloaded, press File > Site Manager or (CTRL+S)

- Click on "New site" and give a name to your file (Ex: the name of your company).
PS: All documents downloaded on the FTP must be in .CSV format.
-
- Protocol: SFTP - SSH File Transfer Protocol
- Host: SFTP.plugcodes.com
- Logon Type: Normal
- Host: Ask the Plugnotes team - specific to your company
- Password: Ask the Plugnotes team - specific to your company
-png.png?width=688&height=383&name=image%20(4)-png.png)
-
- Then click on "Connect"
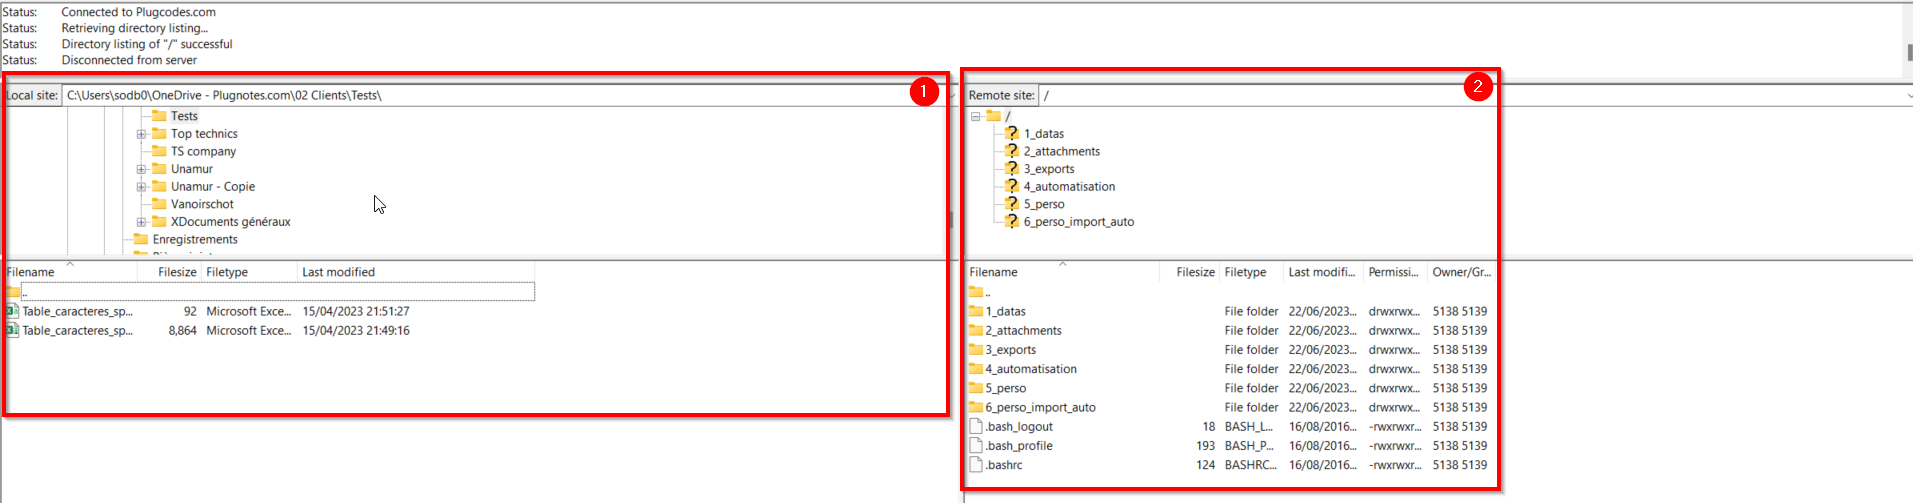
- Once logged in, you will see the screen split into two parts
- Part 1: The folders on your computer. We advise to make a specific "Plugnotes" folder where you will store all the documents to be used in Plugnotes
- Part 2: Information linked directly to your Plugnotes account
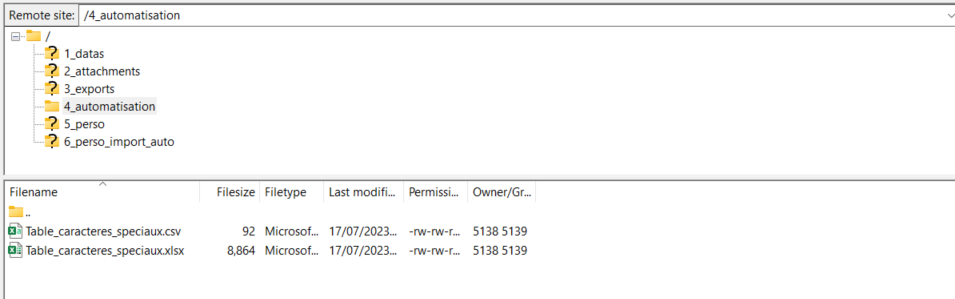
- In part 2, click on "4_automations"
- Drag and drop documents from your computer in part 2
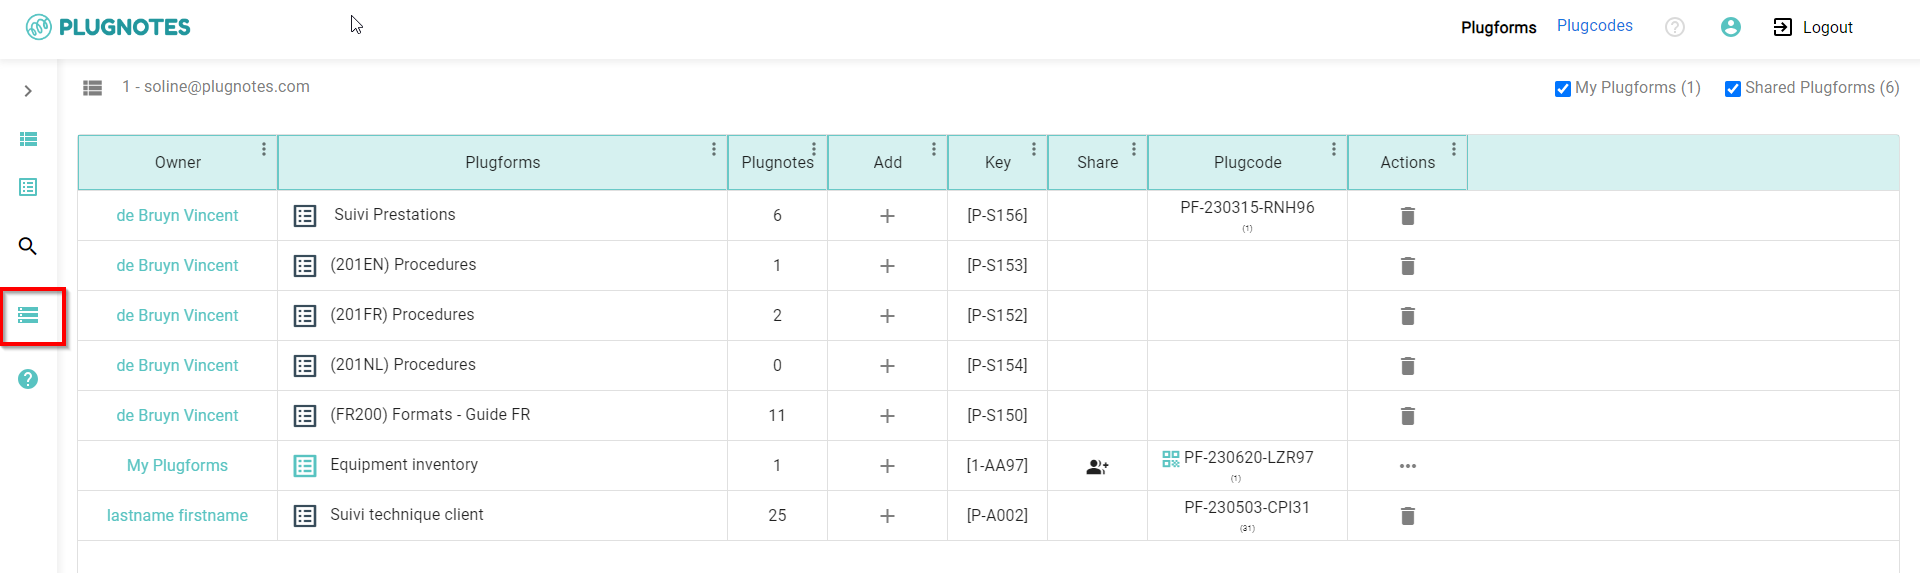
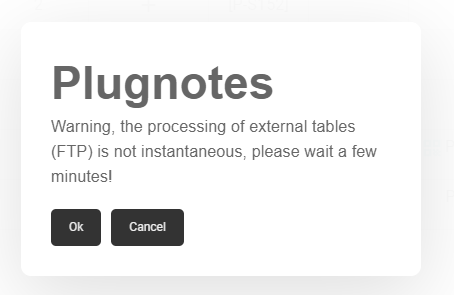
- Return to Plugnotes and press the penultimate icon in the sidebar
- Click "OK"
- Return to FileZilla, in part 2, right-click, then Refresh and you will see that the files have been imported when in front of the file name it will say "Imported-.....)
Note: When the files are placed in the 4_automations, the update in Plugnotes is done automatically once a day so it is no longer necessary to proceed with the manual update (step 8 and 9), except in an emergency.
To Know
- Sorting of records: If you want to keep a specific sorting order (other than alphanumeric) in Plugnotes, it is necessary to insert an additional column with this sorting, being careful to start with a letter (A001) because the table will process the column in text format (1,10,2..)
- Grouping of certain lines: It is important to repeat in a specific column a grouping criterion to be able to display that and all the lines of this group
- Do not change the name of the file after having imported it for the first time.
- It is always possible to add columns during future updates but never rename, delete, or change the order of existing columns
Each new version will overwrite the previous one during import
Each column must have a unique name and never a column with no name or with the name "ID". Letters with accents in a column name are currently not displayed - To delete a table, you must rename it in Filezilla by deleting Imported and adding behind the name of the table (before .csv) _todelete then restarting an update in plugnotes. If it works it will be written in Filezilla "Deleted_" then you can delete it in Filezilla
- No known limits on the number of records or number of columns
- Currently, accents and dots in column names are not accepted
- If the table is not renamed with Imported_xxxx: Check that you have clicked on the Update icon in Plugnotes or are looking for the problem in the content or the name of your file.
--
Customer Success
If you have any questions, please contact our Customer Success Team