*Video explanation at the end of the page
To have the form filled out by people outside of Plugnotes (non-Admins)
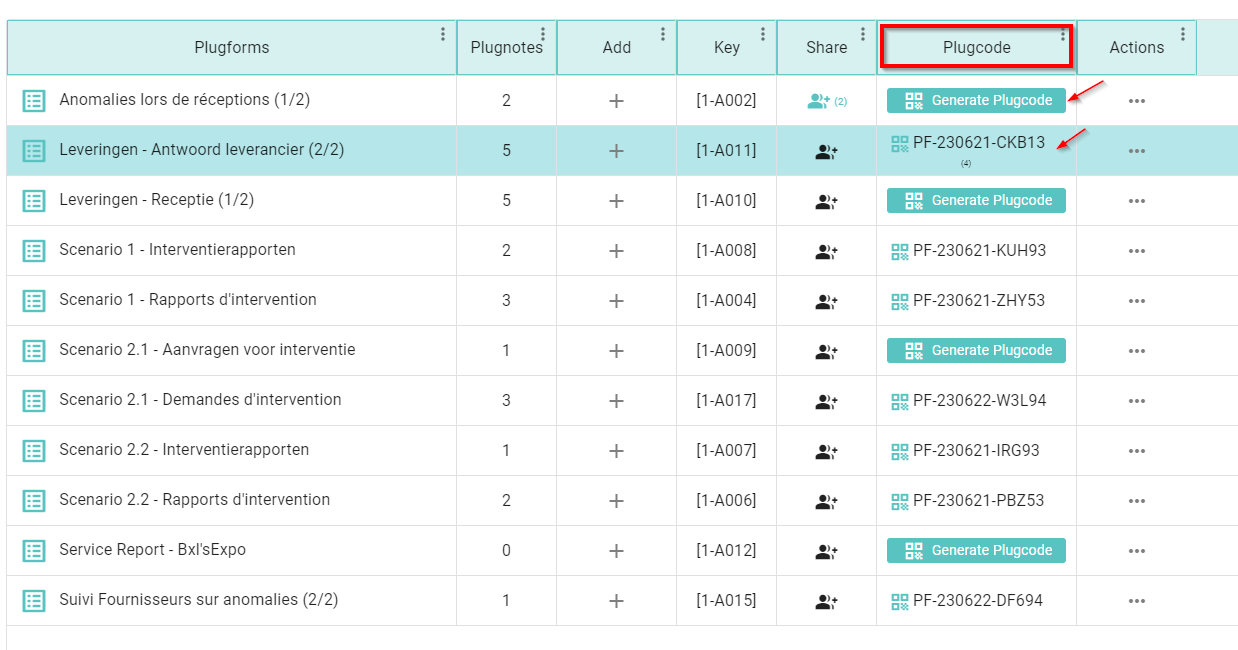
- On the Plugnotes home page, choose the Plugform you want to share and click on the "Plugcode" field of the line you want to share
- Generate Plugcode: for Plugforms that are not yet shared, choose the form you would like to share and click on the ellipses icon, located in the column “Actions” and then click on "Generate Plugcodes" and then confirm the message by clicking in “yes”. An email will be sent to the person as soon as the process is done
- PF-xxxxxx-xxxx: for Plugforms that already have a sharing code. By clicking on it, you can modify/add new means of sharing
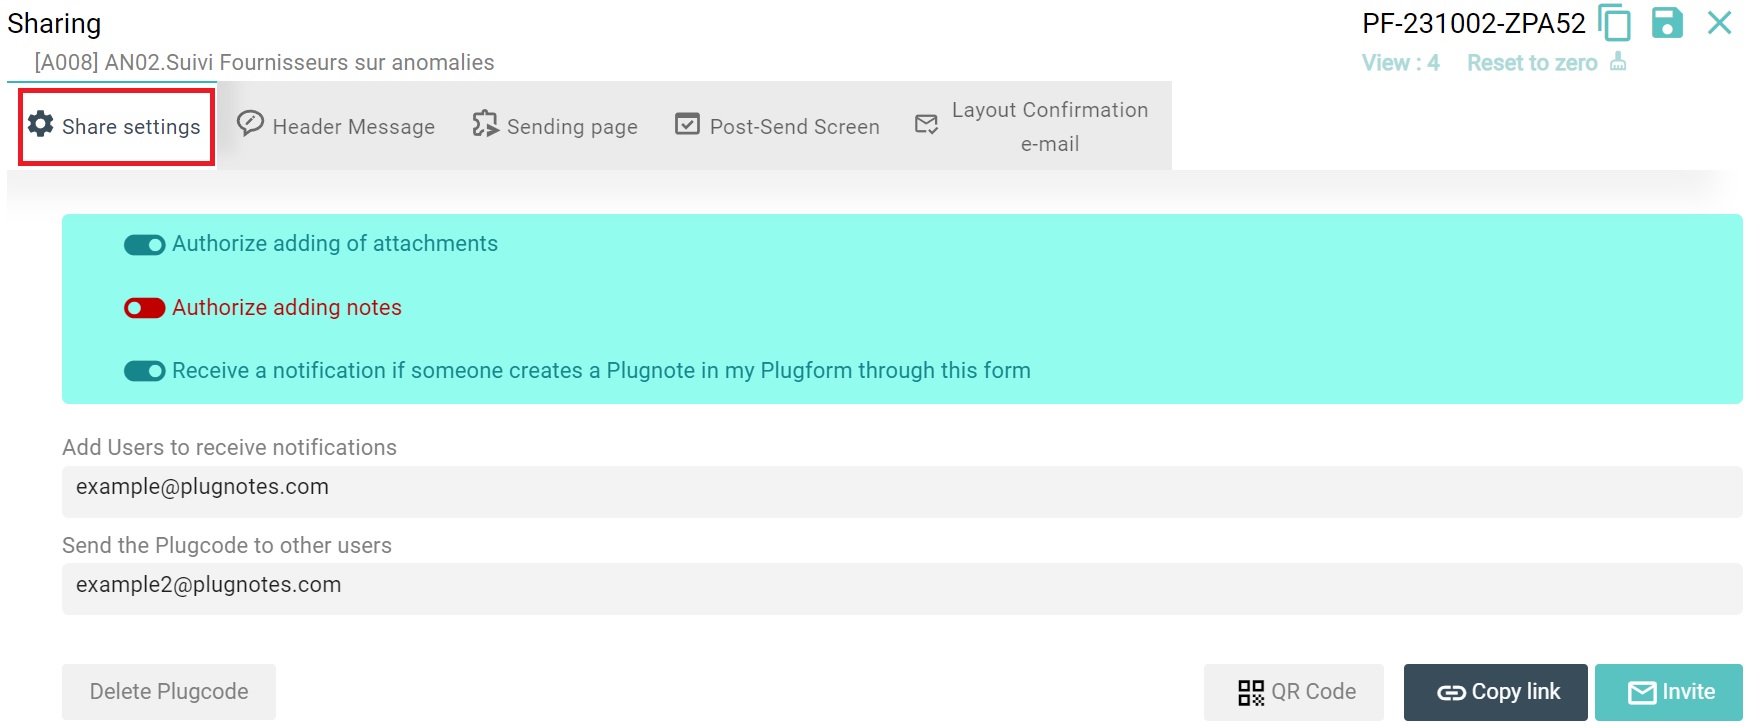
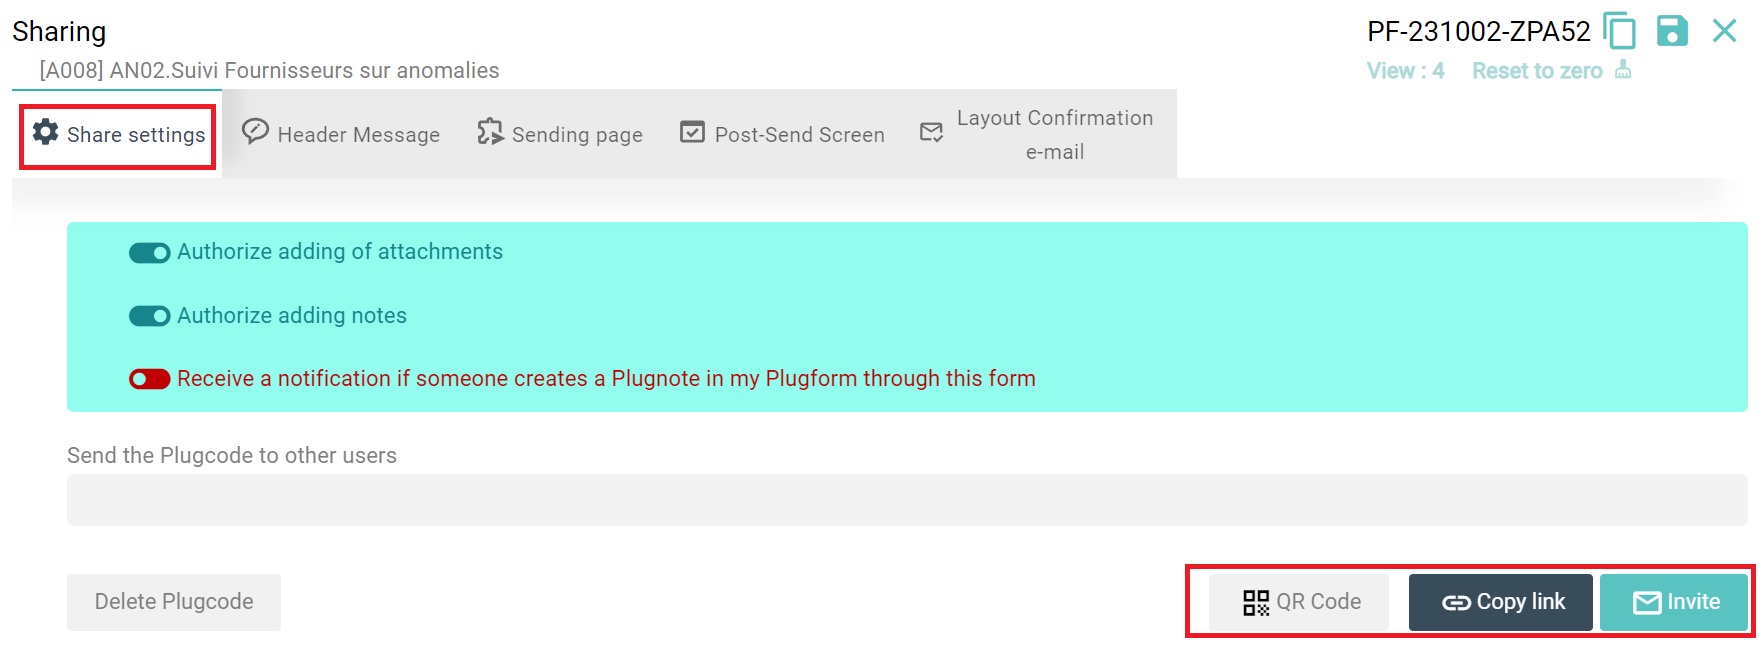
- On the "Shared Settings" field, you can start to set the sharing options. You can enable or disable the options depending on what you want. Note: Permissions in red color will be disabled and in blue, enabled.
- Authorize adding of attachments: people you are sharing can add any file to the form
- Authorize adding notes: people you are sharing can add any note to the form
- Receive a notification if someone creates a Plugnote in my Plugform through this form: this option allows you to be notified in case of any changes or updates in the form. If you would like to activate it, please enter the user email addresses in the field "Add User to receive notifications", located below
- Send the Plugcode to other users: this option allows you to send by user's email address a plugcode (QR code) to provide a new easy access to the form
- Delete Plugcode: this option allows you to delete the plugcode
- On the "Header Message" field, you can create an introductory message in the form for the person you are sharing it with. You can describe how you expect the form to be filled out, the purpose, details about the plugnotes, company information, etc...
In the "Display Plugform label" field, you can choose to share by:
- Via PF-Code: sending the form in a blank and empty way, without any data filled in
- Via PN-Code: sending a form that has already been filled out and is in its final version. To share it, you should look for the form you want to share, click on the PN-CODE column, and click "Copy Link"

This is how the Header Message will appear in your form:
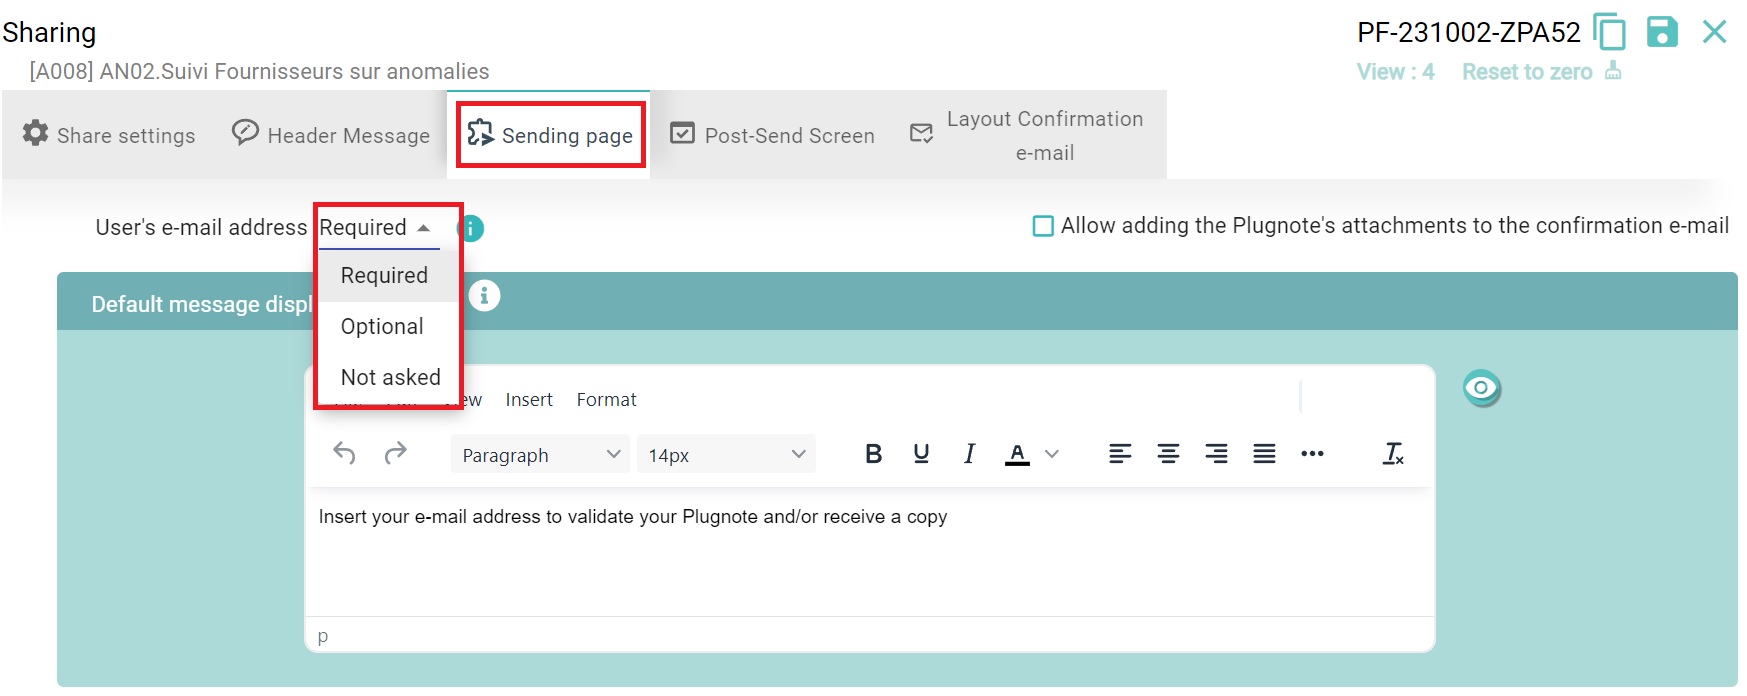
- On the "Sending Page", you can give the person that is filling out the form the option to send a copy to themselves. This action is not mandatory, and you can change the configuration by clicking on "User's email address Requires" and choosing between the options "Required", "Optional", or "Not Asked"
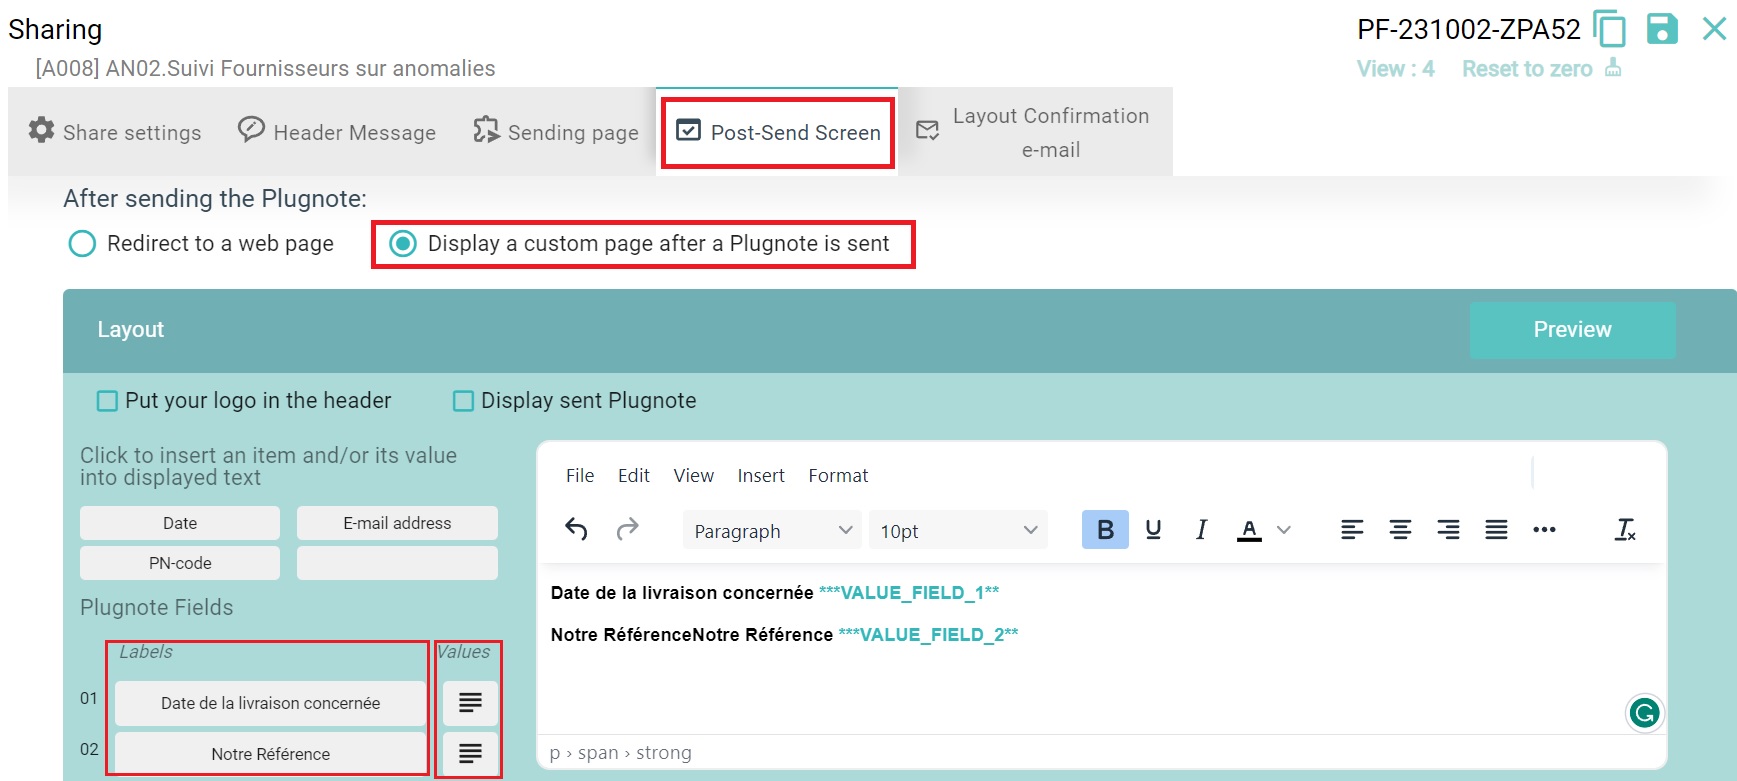
- On the field "Post-Send Screen", you can review all the data submitted through the form.
- By clicking on the "Display a custom page after a Plugnote is sent", a text editing field will appear
- You can insert variables and edit the text as you wish by clicking on the "Labels" and "Values" and you will see the new characters appearing in the text box
-
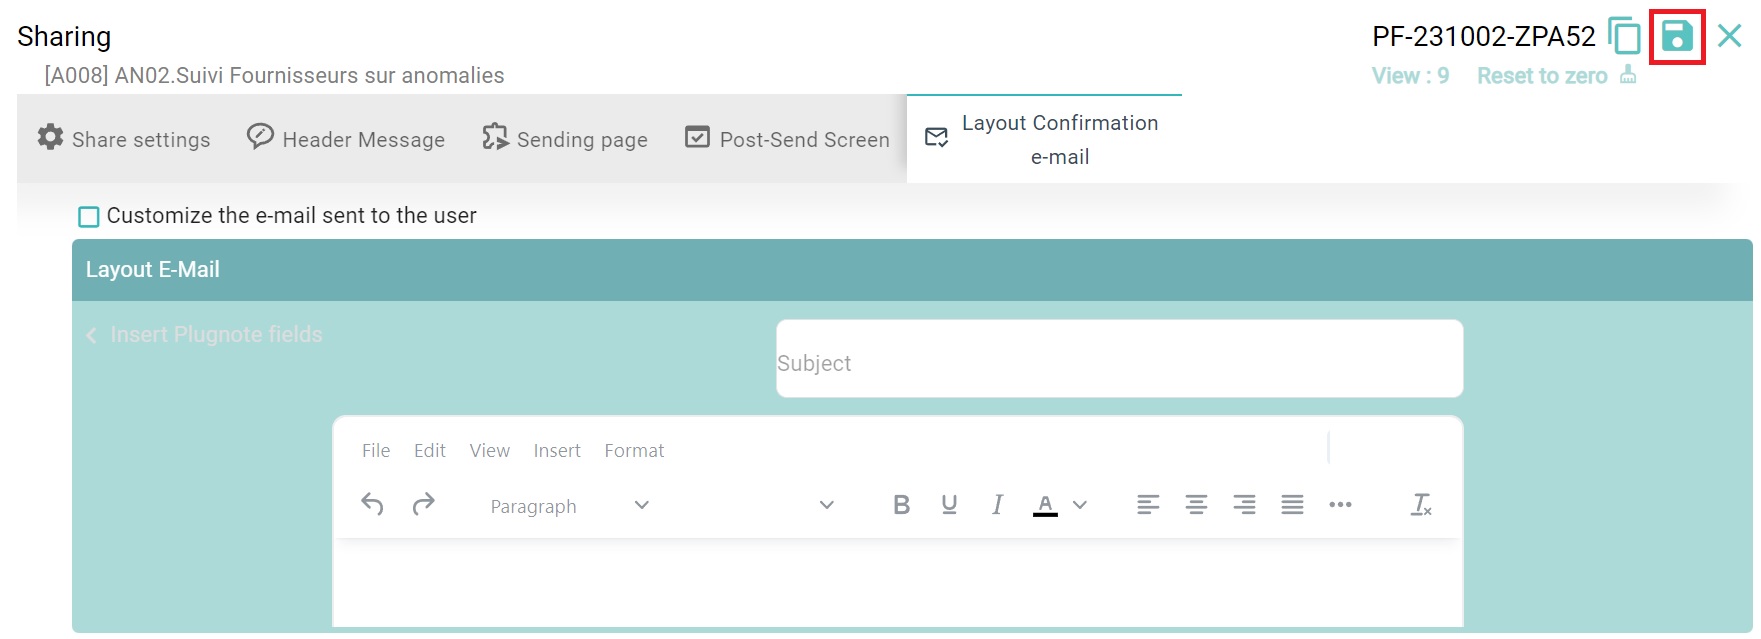
On the field "Layout Confirmation e-mail" you will see how the email form data layout has been sent. This is the email test and you will see how it goes to the email box
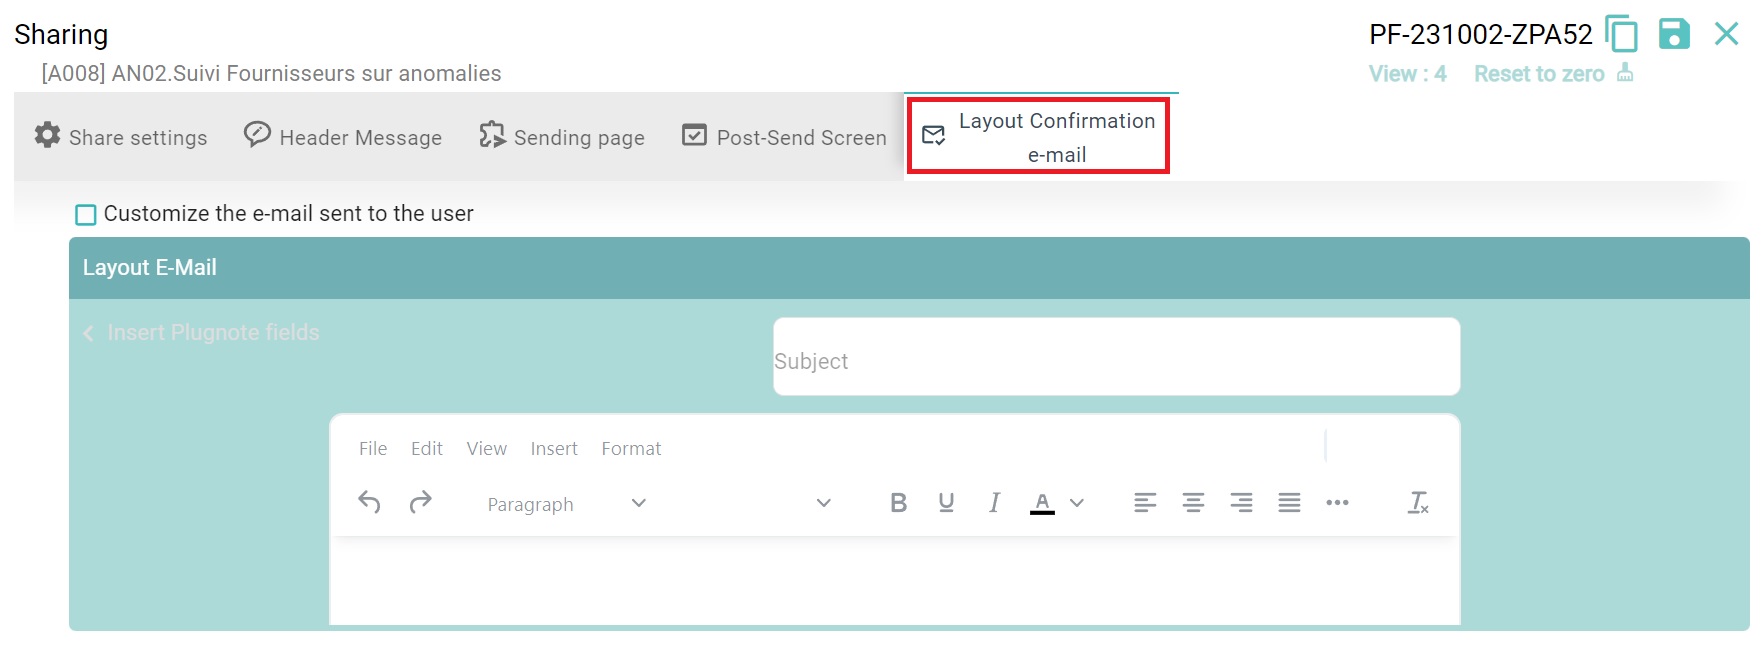
- After configuring it as you want, you should save it at the top of the page
- On the page "Share Settings" you can choose your preferred method of sharing:
-
- QR-code: share a QR-code that can be scanned through the app or with your phone's camera. After clicking on this option, the download will start automatically and the file will be saved on your device
- Copy Link: same method as a classic form solution, the link gives access to the form
- Invite: Shared the form by a user email
--
Video Explanation
--
Customer Success
If you have any questions, please contact our Customer Success Team